
API Developer Tool
The API Developer Tool is the main application that has been created to help web developers understand the API documentation and to provide some examples on how to retrieve and parse information returned from an API call to the FirstClass server.
Introduction
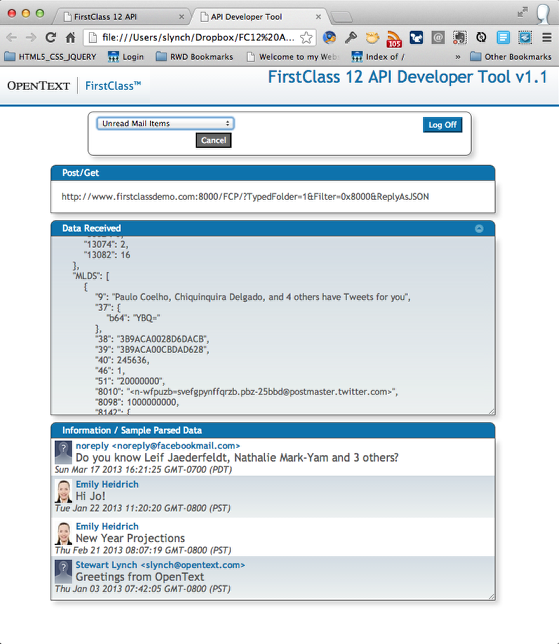
The API Developer tool provides the most visual information on how to use the API.
Required Files
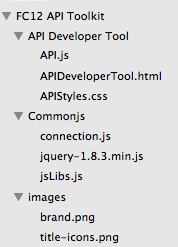
The API Developer tool uses the following Files
- API Developer Tool/APIDeveloperTool.html (the primary html file)
- API Developer Tool/API.js (the primary javascript file)
- API Developer Tool/APIStyles.css (the primary css file)
- Commonjs/connection.js
- Commonjs/jquery-1.8.3.min.js
- Commonjs/jsLibs.js
- Images/brand.png
- images.title-icons.png
Logging In
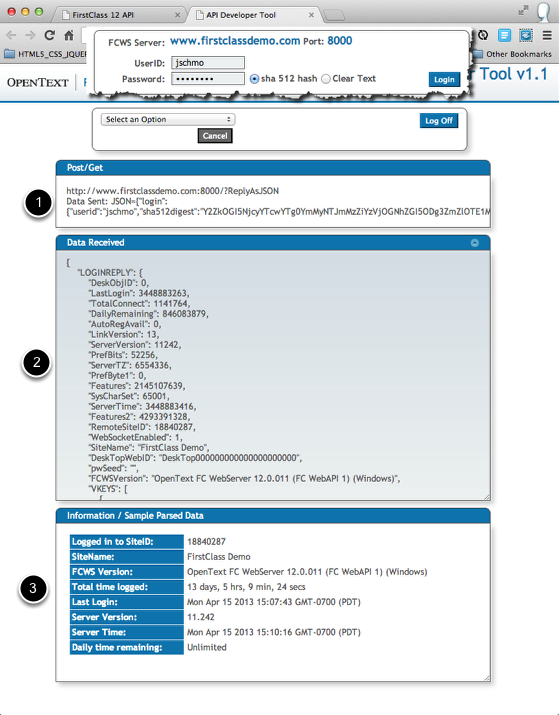
The current implementation of the API requires an authenticated login. The tool allows you to choose between a base64 sha 512 hash encrypted or a clear text password. After clicking the Login button, you will see the following:
- The URL that is sent to the server along with any POST data that accompanies the request.
- The data that is returned from the server in its raw JSON form.
- A sample of how a web developer may wish to parse and display the returned data.
The Interface
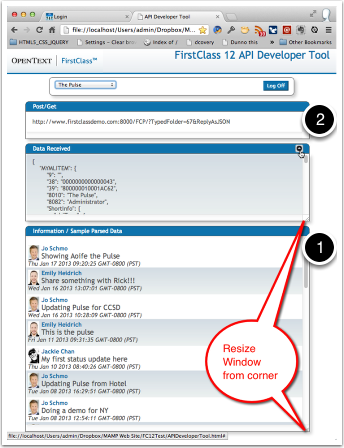
The tool has a simple interface that allows you to expand and shrink the Data Received and Information / Sample Parsed Data sections so you can better view the content.
- Each window has a resizing corner that you can use to increase or reduce the height.
- You can dismiss the Data Received window entirely by clicking on the collapse button. This is a toggle so clicking again will expand it back to its previous size.
Options
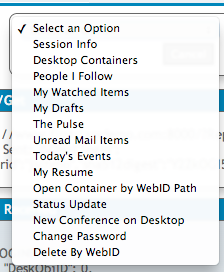
A number of different options are available once logged in. An effort has been made to provide developers with a range of examples that might prove useful if they are trying to incorporate FirstClass content within their own web applications.
Session Info
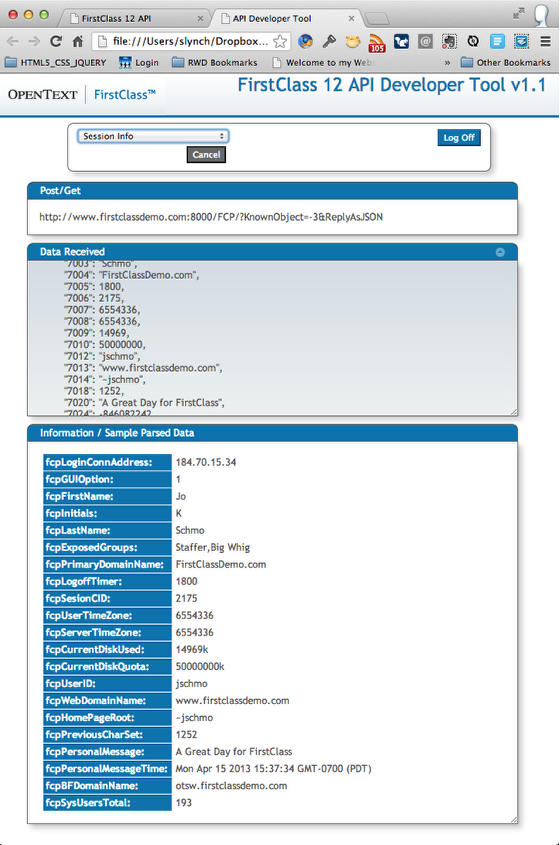
Session Info provides the developer with a host of information that might be useful in crafting applications that will respond differently depending on the information retrieved from this option.
Desktop Containers
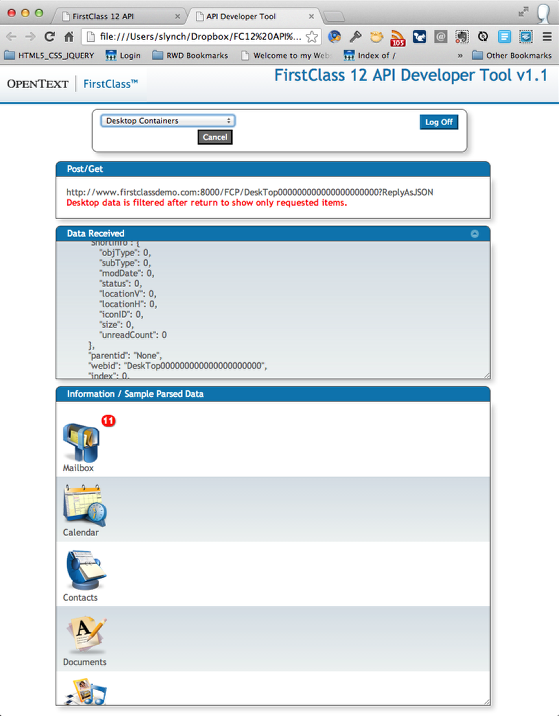
Selecting Desktop Containers will retrieve and display all containers on the user's desktop. This starts with the general call to open the user's desktop, fetching everything that is stored on the user's home screen This includes items that are invisible to the user. To display containers only, this section filters out and displays only visible containers to the viewer.
People I Follow
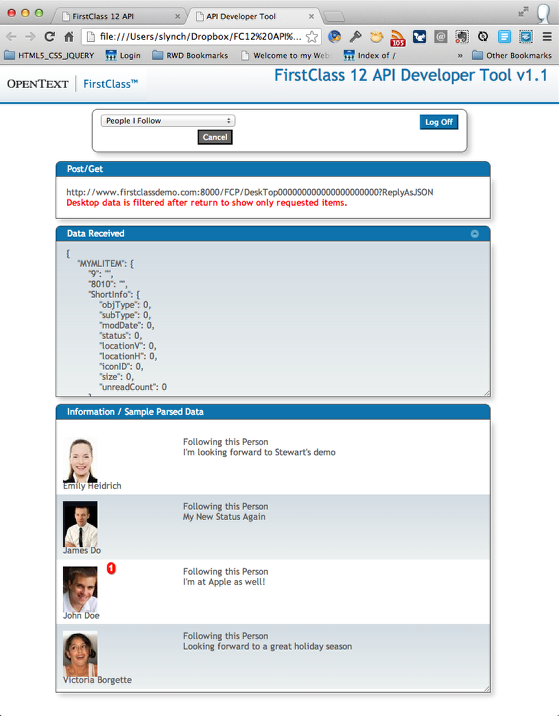
As mentioned above, retrieving the desktop retrieves everything that is stored on the user's home screen including items that are invisible to the user. To retrieve the People I follow, the desktop is retrieved and the developer must filter the results to display only people.
My Watched Items
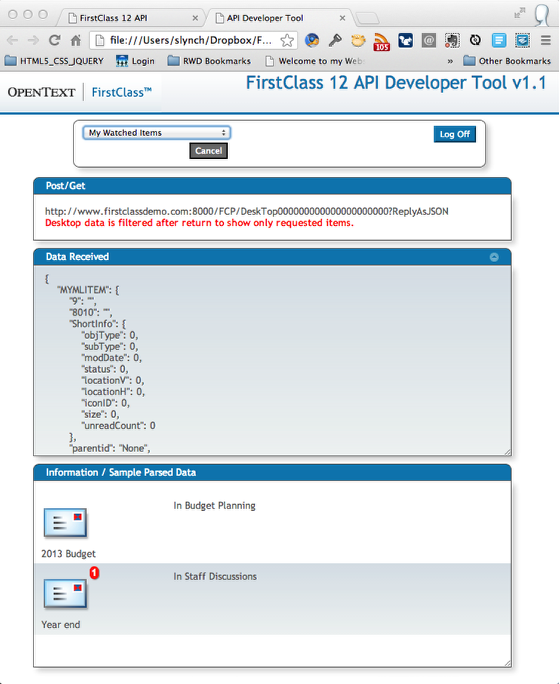
Similar to other desktop items, to retrieve My Watched Items, the desktop is retrieved and the developer must filter the results to display only the watched items.
My Drafts
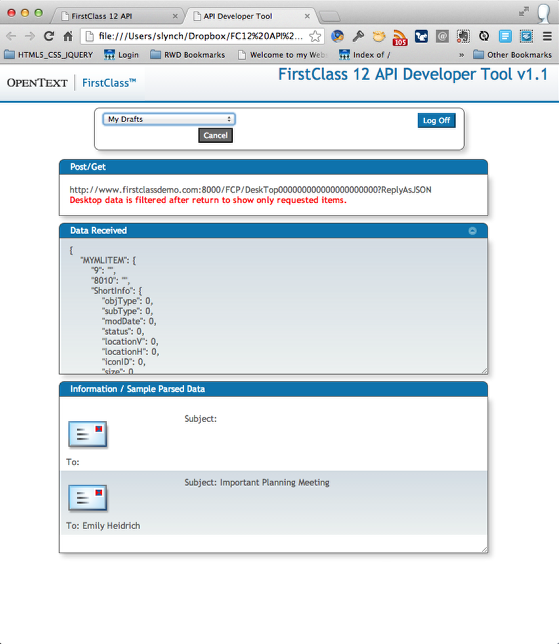
Similar to other desktop items, to retrieve My Drafts, the desktop is retrieved and the developer must filter the results to display only the draft items.
The Pulse
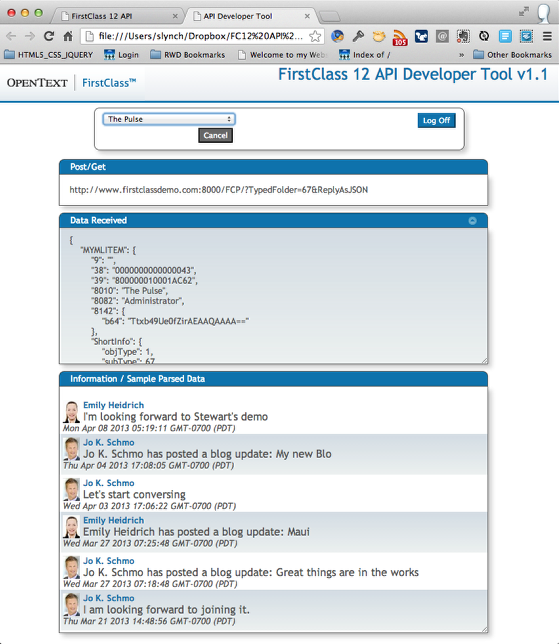
The Pulse returns and displays the current pulse entries for the logged in user.
Unread Mail Items
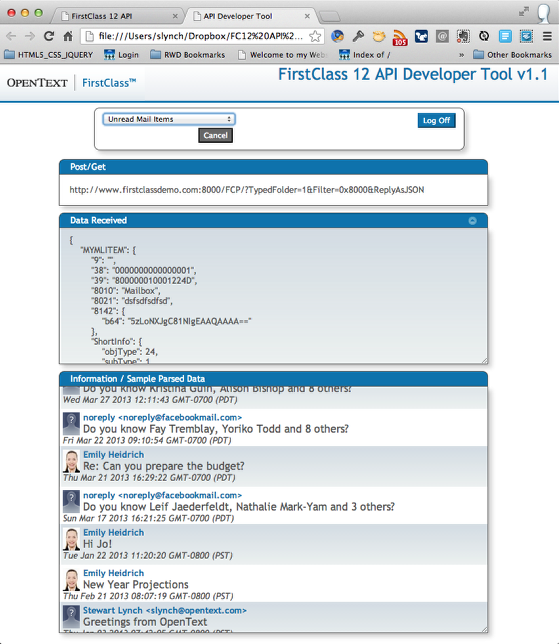
This Unread Mail Items option will list all of the unread mail items for the currently logged in user.
Today's Events
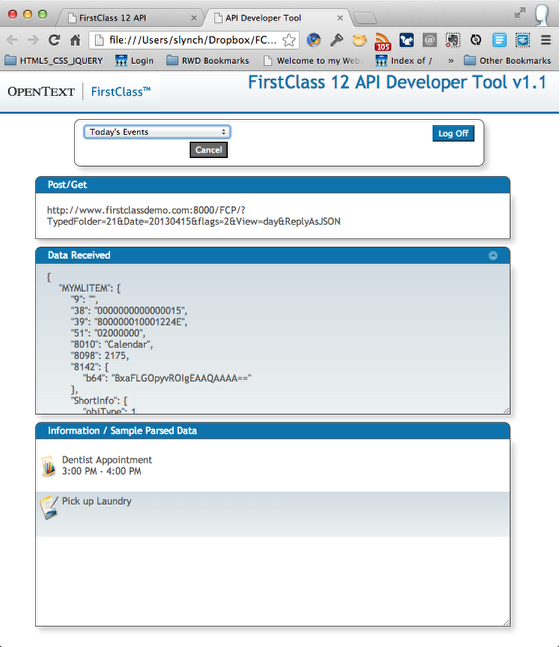
Today's Events returns a list of both events and tasks that are scheduled for the current day.
My Résumé
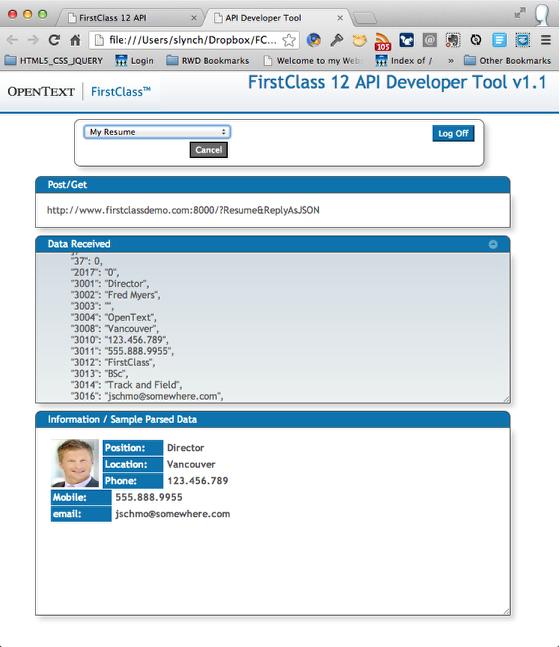
My Résumé returns the user's profile résumé and presents a sample of the retrieved information.
Open Container by WebID Path
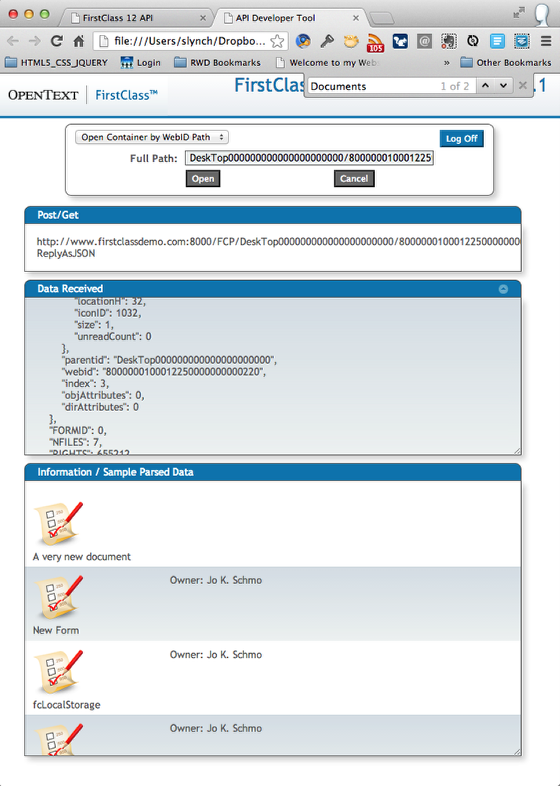
When you view the JSON data that is retuned you will notice a WebID for every object. You can open a container if you specify the full path to that container. For example, I notice that when I opened the Desktop container, it has a WebID of DeskTop000000000000000000000 and on that desktop is the Documents folder which has a WebID of 8000000100012250000000000220
With this option, you can specify the full path DeskTop000000000000000000000/8000000100012250000000000220 to open and retrieve the contents of that container
Status Update
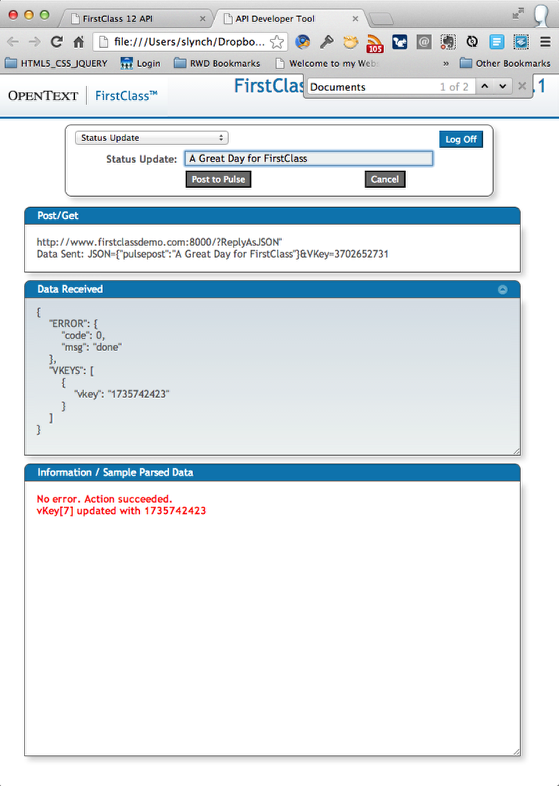
The Status Update is an example of a POST to FirstClass that will update the user's status and post to the Pulse. This requires the completion of a field first before submission. For all POST items, you must also submit a VKEY (one of 10 vkeys retrieved from the LOGINREPLY JSON data.) Returned with the data is also a replacement vkey that must replace the one used in this query.
A subsequent retrieval of the pulse will show that the entry has been submitted.
Change Password
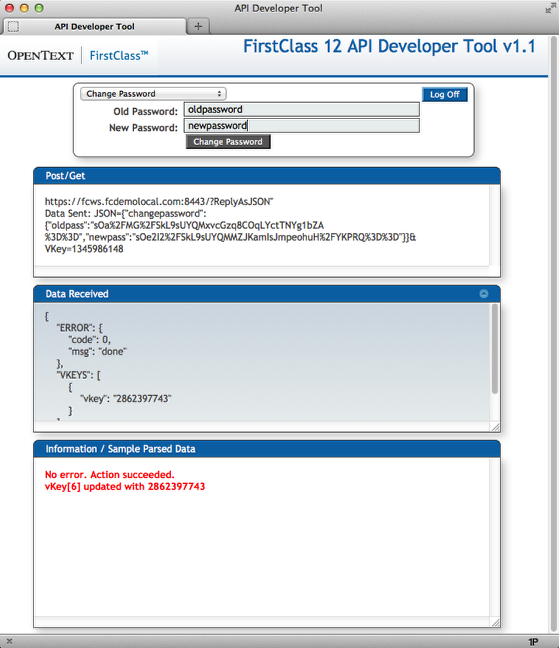
Change Password is another POST example that requires the old and new password to be submitted (POSTED) to the server. A password change requires both a vkey and that the clear text password be encrypted prior to submission. Once submitted, the vkey replacement must be made.
In addition, a password change is only allowed if you have an SSL certificate and the API Server Address reflects this. ie, an SSL connection is required and this example checks for 'https' in the server address.
If this criteria is met, you will be presented with a field to enter your old password and anther
New Conference on Desktop
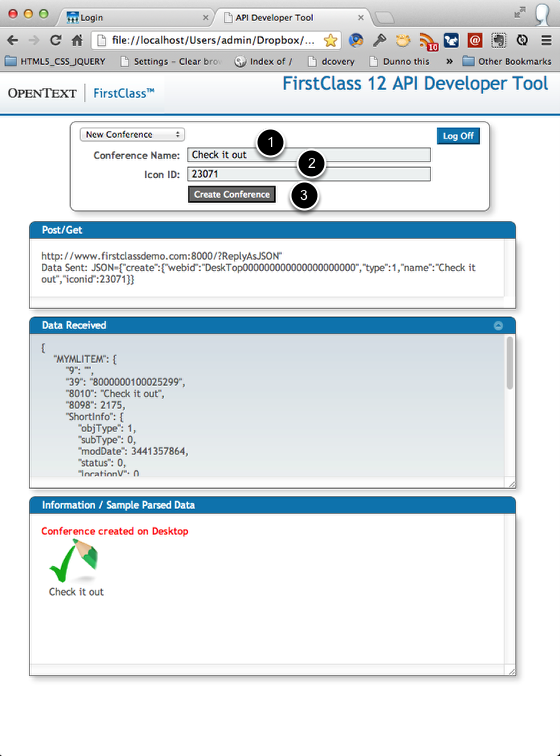
The New Conference option is another example of a POST that requires a name and iconID. This creates the conference on the user's desktop and displays the resulting container and icon in the Information window. As with the PULSE entry, this too requires a vkey and vkey replacement upon completion.
Enter:
- A Conference Name
- A valid Icon ID
- Click on Create Conference
Delete by WebID
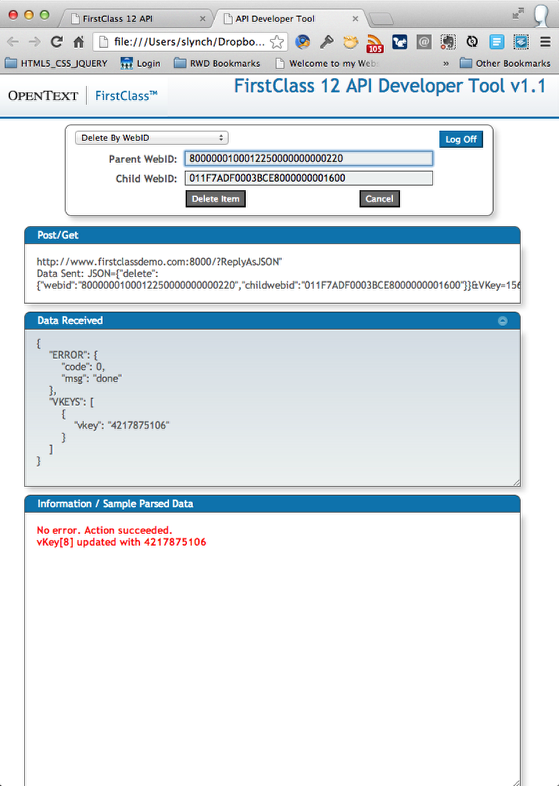
To delete an item, you need both the webID of the item and the webID of the parent container. This can be found during the opening of a container as per one of the previous examples. For example, when I opened the Documents folder (webID: 8000000100012250000000000220) I noticed a file called New Form 1 that has a webID: 011F7ADF0003BCE8000000001600 and these two values can be used to delete the file.
As this is a POST to the server, a vkey is required.